


The shimmery, white snow covering the ground means it is time for family-fun activities like sledding, having a snowball fight, making snow angels and building a snowman, which is one of my son Anikin’s favorite things to do in the winter. Every snowstorm, he gets excited about building one even if the weather is not pleasant. He cannot be deterred by rain, sleet or howling winds — sometimes to my dismay.
The process of building a snowman is simple: make three snowballs in different sizes, stack them and decorate. But as with anything in life, there is usually more involved than one might think. Here are some tips my family has found helpful.
The snow makes the difference. Not all snowstorms are alike and the type of snow a storm can produce may vary from cold, fluffy snow to wet, heavy Sierra cement.
Type of snow
The snow makes the difference. Not all snowstorms are alike and the type of snow a storm can produce may vary from cold, fluffy snow to wet, heavy Sierra cement. Light, dry snow is not sticky enough to bind together to form stackable snowballs. Anikin gets rather annoyed if the snow is not sticky enough. The Tahoe area often receives heavy, wet snow, which is great construction material for a snowman. All is not lost if the snow is like powder. Sometimes the consistency of the snow can change and become more wet and sticky if temperatures rise above freezing or there is abundant sunshine following a storm. If it’s not the right type of snow one day, it might be by the next day.
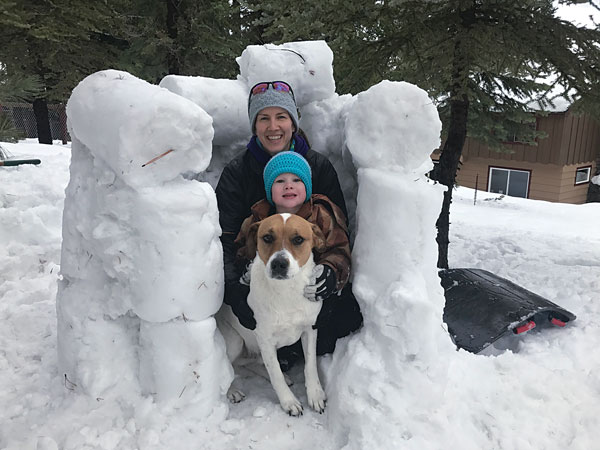
Location matters
Remember: location, location, location. Where you build your snowman can determine how stable and how long the snowman will last. Find a flat surface with lots of snow and perhaps a little shade to lengthen the snowman’s life span. The type of surface under the snow can also affect longevity. Grass and dirt are generally colder than pavement and concrete, which traps heat and melts the snow at a faster rate.
Make a giant ball
Once you find the perfect spot, start by making a snowball with your hands. Keep packing snow on it until it is too big to hold. Then roll it on the ground, switching directions as you roll it to make it more round and less lopsided. The first snowball is your base and forms the bottom section of the snowman. When it is the desired size, place it where you’d like for it to live. Flatten the top of the ball slightly to make a surface for your next snowball. Repeat the same process to create the middle section, making it slightly smaller in diameter than the last one. Once it is the right size, flatten one end and place on top of the first snowball. Repeat it again to create the head. Make the structure more stable and stronger by packing snow around the sides and where the snowballs connect.
Bring it to life
Decorate it and give your snowman life. Traditionally the features of a snowman are readily available: rocks for eyes, mouth and buttons; carrot for a nose; sticks for the arms; and a hat and scarf. If you use a carrot, remove it before nighttime to avoid it being eaten by an animal.
Some alternatives to traditional items include balls for the eyes and mouth, wire or stiff fabric for the mouth and broomsticks or hockey sticks for arms. Another great option is to buy a snowman kit online. Most come with fake buttons for the eyes, mouth and buttons, a fake carrot for the nose, a scarf and a top hat.
Get creative and make your snowman unique. Use a funky hat, scarf or jacket or dress it up with a cape or costume. Sculpt facial features with kitchen utensils. Use skeleton arms and plastic vampire teeth. Brighten it up at night with holiday lights.
Boost the snowman’s longevity by spraying it lightly with water. The water will freeze overnight making it harder and more dense. Be careful not to overwater and melt him.
Or, if you are like Anikin, you can have fun destroying your beautiful creation by throwing snowballs at it or smashing it with a bat.


